
The One2Five Shopify App enables shop owners to utilize all capabilities of the O2F universe while never having to leave their familiar Shopify environment.
App Overview #
The installation process of the Shopify app involves navigating through the Shopify Partner dashboard, selecting a test environment, and installing the app on a development store. Once installed, the app provides a basic landing page to help users get started with its core functionalities.
Steps:
- Open Shopify Partner Dashboard:
- Log in to your Shopify Partner account and navigate to the development section.
- Log in to your Shopify Partner account and navigate to the development section.
- Select Your Development App:
- Choose your development app “One2Five” from the list of apps.
- Choose your development app “One2Five” from the list of apps.
- Access the App Overview:
- On the app overview page, locate the “Test App” option.
- On the app overview page, locate the “Test App” option.
- Choose a Development Store:
- A list of development or test stores associated with your account will be displayed.
- Select a store that hasn’t been used to test this app before to avoid conflicts.
- Install the App:
- Shopify’s app installation page will open. Click on the “Install” button to start the process.
- The installation may take a few moments as the system configures the app for the store.
- Landing Page:
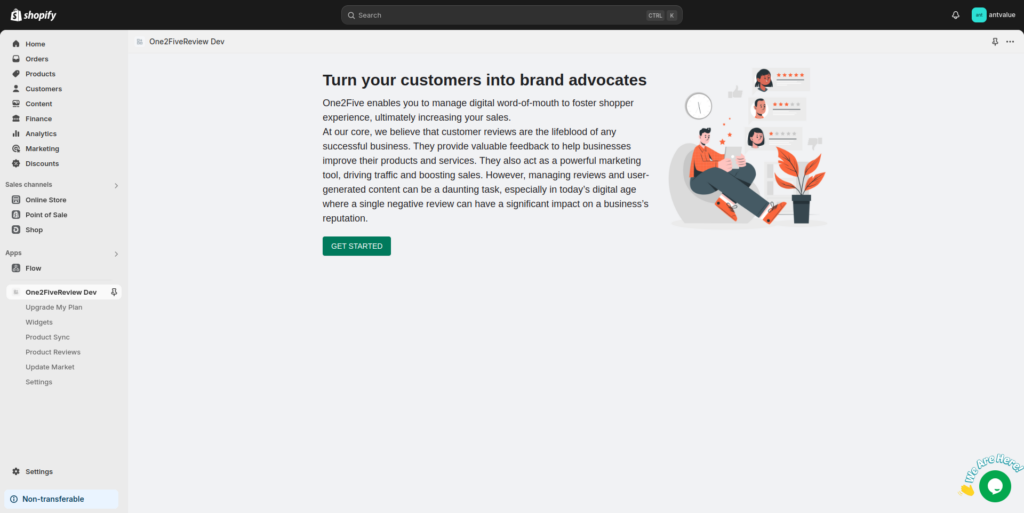
- After installation, the app’s landing page will open, displaying a “Get Started” button and some basic information about the app’s features.
App Landing Page
Onboarding Process #
The onboarding process allows users to configure basic details about their company and set up email templates. After selecting a subscription plan, users will be asked to input specific information that will help to configure the app for their store.
Steps:
- Start Onboarding:
- Click the “Get Started” button on the app’s landing page or navigate to the Subscription menu to begin the onboarding process.
- Click the “Get Started” button on the app’s landing page or navigate to the Subscription menu to begin the onboarding process.
- Choose a Subscription Plan:
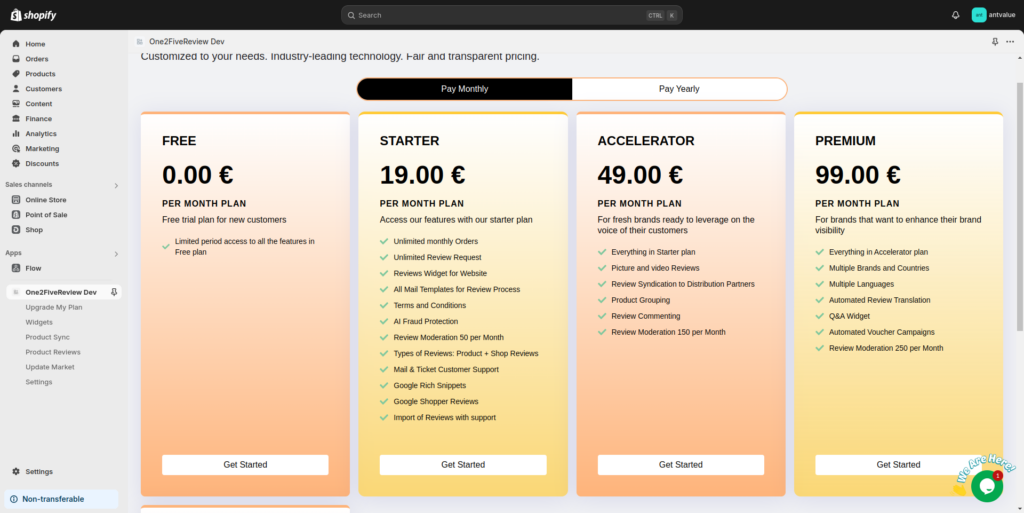
- The app offers several subscription plans:
- Free Plan: Limited features for basic users.
- Starter Plan: Access all core features with limited review moderation.
- Accelerator Plan: For brands looking to scale.
- Premium Plan: For brands that need more advanced features.
- The app offers several subscription plans:
Subscription Plans
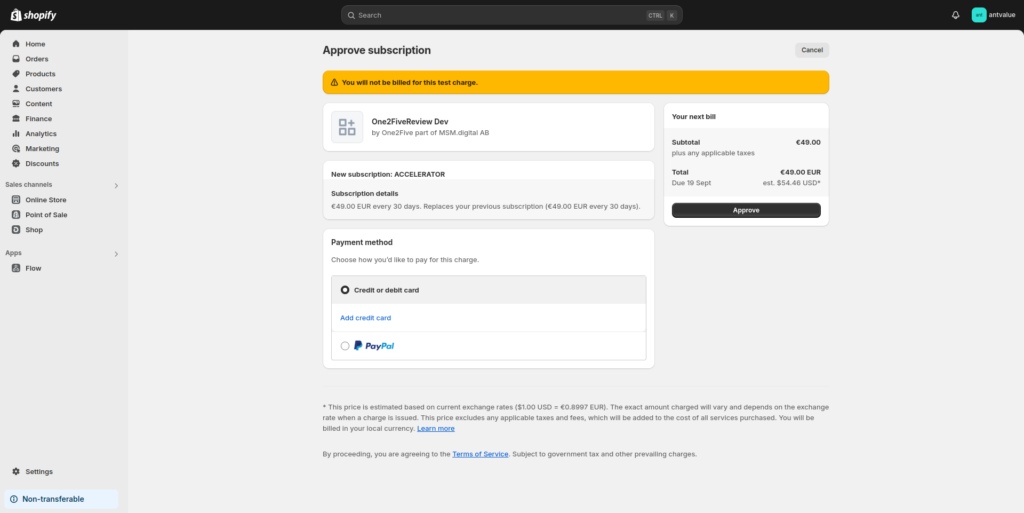
- Complete Payment:
- After selecting a plan, you will be redirected to the Shopify app payment page.
- Approve the payment to finalize the subscription.
Subscription Approval
- Onboarding Form:
- After the payment is approved, the onboarding form will appear. Fill in the required details:
- Company Name: Official name of the company.
- Sender Email: The email address that will be used to send email notifications.
- Brand Name: The store’s brand name.
- Language & Country Codes: Select the specific Language and Country from the available options displayed in the Country and Language Dropdown.
- Moderation Toggle: Enables or disables the review moderation feature for the user
- After the payment is approved, the onboarding form will appear. Fill in the required details:
- Email Templates:
- Three email templates are required:
- Verification Email Template: A verification email is sent to the user to ensure that they’re authentic and that they’re likely to connect you to a real person who has submitted the review.
- Rejection Email Template: A rejection email is sent to the user whose review gets rejected.
- Approval Email Template: An approval email is sent to the user whose review gets approved.
- Three email templates are required:
- Final Submission:
- After submitting the onboarding form, you will receive:
- Passkey: For secure API calls.
- Display Code: For embedding the app’s features.
- After submitting the onboarding form, you will receive:
App Widget #
The app includes several widgets that need to be set up in the store’s theme editor. These widgets provide functionality for collecting and displaying reviews, showing star ratings, and showcasing product ratings on the store.
Steps:
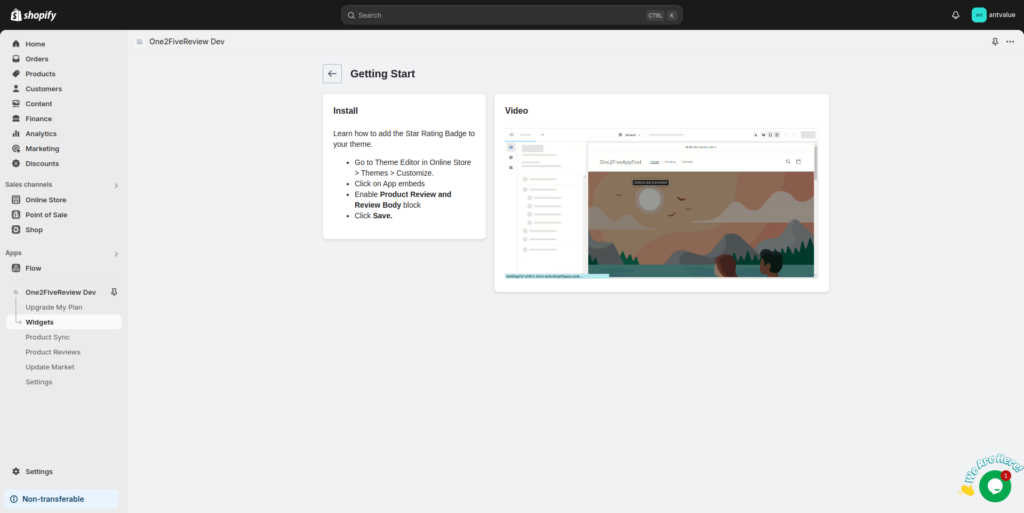
- Navigate to Customization:
- Go to the Shopify admin panel.
- Select Online Store > Themes > Customize.
- In the customization menu, click on App Embeds.
- Enable Widgets:
- Toggle the buttons to enable the widgets provided by the One2Five app.
Available Widgets:
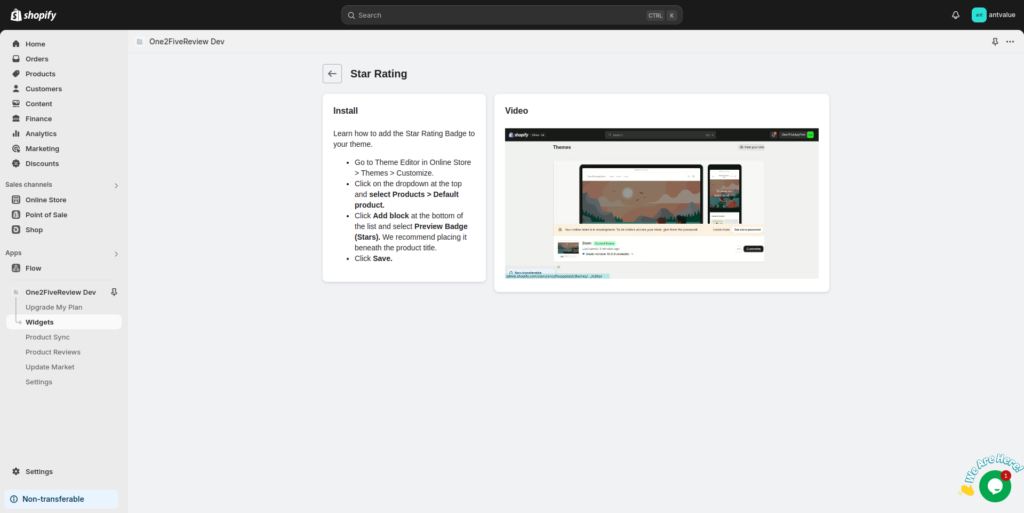
- Star Rating Badge:
- Displays the average star ratings on product pages.
- Steps to enable:
- Go to the Theme Editor.
- Select Product Pages and enable the Star Rating Badge block.
- Place it beneath the product title or in a custom location.
- Click on Save to apply the changes.
Widget Setup
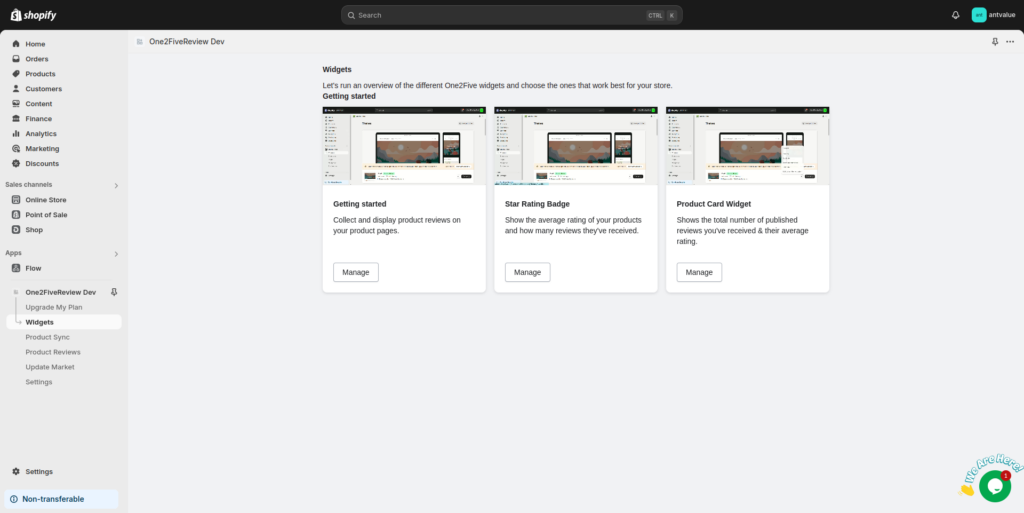
Star Rating Badge
Widget 1: Product Card Widget Setup
- Manual Code Placement:
- Add the following code to the Collection Card Snippet to display the review rating on collection pages:
<div class="one2five__startreview" data-productid="{{ product.id }}"></div>
- Add the following code to the Collection Card Snippet to display the review rating on collection pages:
- Access Theme Editor:
- In Theme Editor, right-click on the three dots in the top-right corner and select Edit the Theme.
- In Theme Editor, right-click on the three dots in the top-right corner and select Edit the Theme.
- Paste the Code:
- Locate the Collection Card Snippet and paste the code where you want the widget to appear.
- Locate the Collection Card Snippet and paste the code where you want the widget to appear.
- Save and Customize:
- Save the changes and go back to the Theme Editor > Customize.
- Save the changes and go back to the Theme Editor > Customize.
- Enable in Collection Pages:
- In the dropdown, select Collections > Default Collections.
- Toggle the Active button on the app settings.
- Final Save:
- Click Save to apply all changes.
Widget Installation
Product Sync and Review Management #
The Product Sync feature allows you to synchronize products from your Shopify store with the One2Five platform, ensuring that product reviews and ratings are properly displayed. Users can also manage reviews for their products directly through the app.
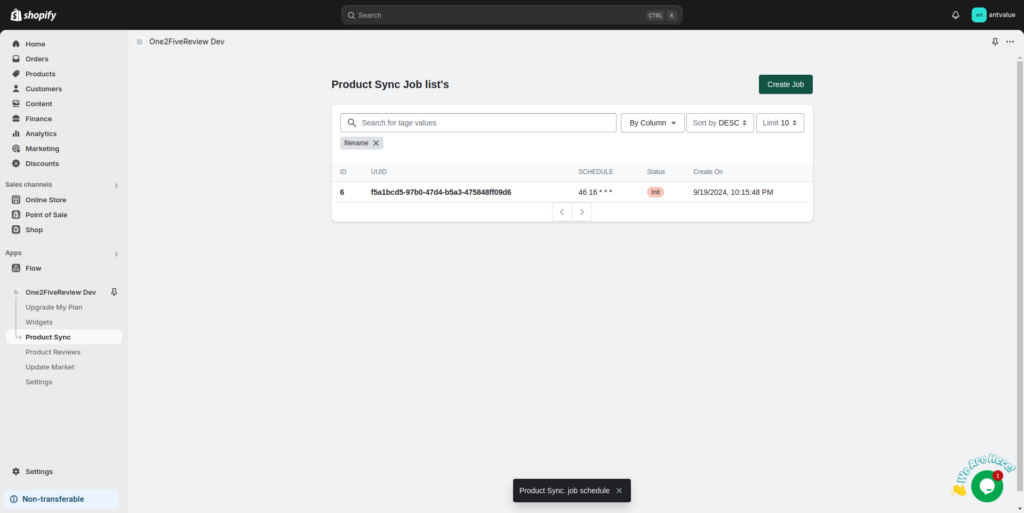
Steps for Product Sync:
- Create a New Sync Job:
- Navigate to the Product Sync section and click on Create Job.
- Navigate to the Product Sync section and click on Create Job.
- Select Products to Sync:
- Choose the products you want to synchronize from your Shopify store to One2Five.
- Choose the products you want to synchronize from your Shopify store to One2Five.
- View Job Status:
- The job status will be displayed in the Product Sync dashboard, where you can monitor the synchronization progress.
Product Sync Job List
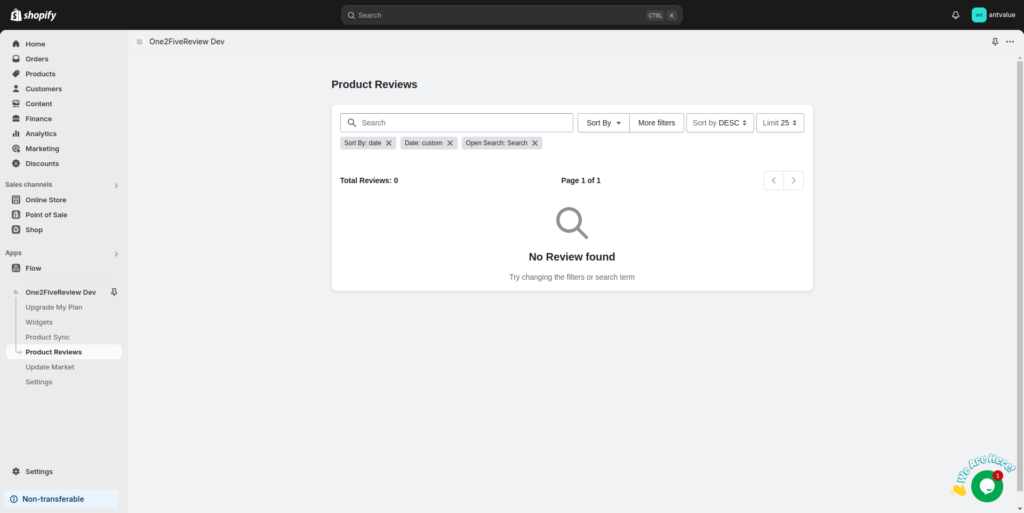
Product Reviews Management #
Product reviews collected through One2Five are displayed in the app’s Product Reviews section. This section allows you to manage reviews, filter them by date, and sort them as needed.
Steps:
- Navigate to Product Reviews:
- In the left-hand menu, go to Product Reviews.
- In the left-hand menu, go to Product Reviews.
- Filter and Sort Reviews:
- Use the search and filter options to view specific reviews based on product, date, or customer.
- Use the search and filter options to view specific reviews based on product, date, or customer.
- Manage Reviews:
- Respond to reviews, mark them as featured, or delete inappropriate reviews directly from the app.
Product Reviews Management
Subscription Management #
Users can change their subscription plan or manage payment details via the Subscription menu within the app. This will trigger Shopify’s native subscription payment flow.
Steps:
- Navigate to Subscription Settings:
- Access the Settings section from the left-hand menu.
- Access the Settings section from the left-hand menu.
- Manage Subscription Plan:
- View your current plan, change the subscription, or update payment methods.
- View your current plan, change the subscription, or update payment methods.
- Billing and Invoices:
- Access invoices for past payments and download them for your records.
Additional Details and Best Practices #
- API Integration:
- Ensure the Passkey and Display Code generated during onboarding are securely stored. These keys are vital for API communication with One2Five’s backend.
- Ensure the Passkey and Display Code generated during onboarding are securely stored. These keys are vital for API communication with One2Five’s backend.
- Custom Template Management:
- When overriding default email templates, ensure that the uploaded files match the required formats and are properly linked to the fields in the onboarding form.
- When overriding default email templates, ensure that the uploaded files match the required formats and are properly linked to the fields in the onboarding form.
- Widget Placement:
- Placement of widgets like the Star Rating Badge and Product Card Widget can be adjusted to suit the store’s design and layout preferences. The widgets are fully customizable using Shopify’s theme editor.
This enhanced documentation provides detailed steps for installing, onboarding, configuring widgets, and managing product sync and reviews in the One2Five Shopify app. It also includes additional best practices for API integration, template management, and widget customization.
Let me know if you need any further adjustments or additional sections!